 |
|
RV-6A Project Website
|
|
Aft Top Skin
|
|
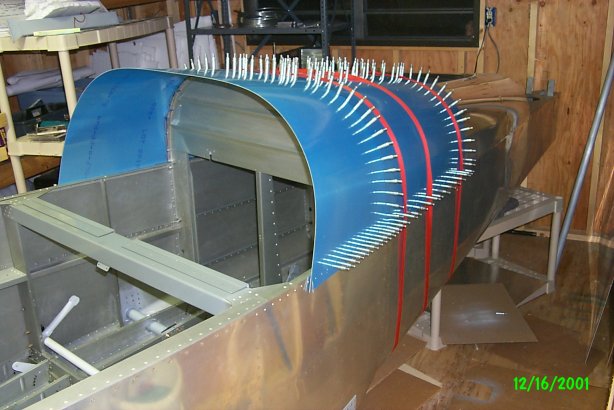
I drilled the Aft Top Skin as a motivator. Seeing the whole top of the fuselage covered is great.
|
|
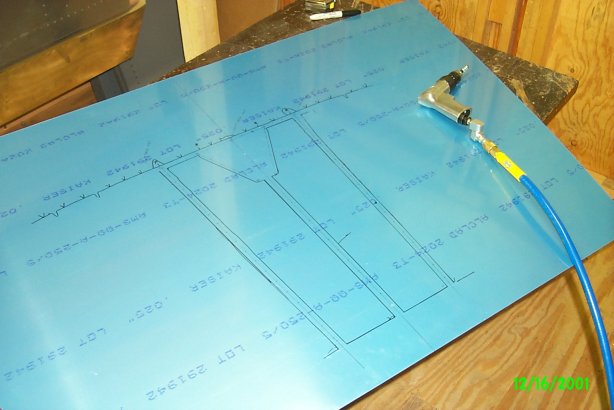
I started by marking the center of the skin. I measured the width of the narrow end and divided by two. I placed a line
down the center of the top and bottom. Then I marked the center of the longeron and extended the line over the F-675 skin.
Doing this on the fore and aft allowed me to line up the skin to the fuselage. I drilled two holes and clecoed the skin
in place.
Next I marked the locations of the stringers underneath using a Sharpie. I started with only those easy
to get to. I plan to drill the skin to the top three stringers and then bend it over the bulkheads to mark the rest.
|
|
|
|
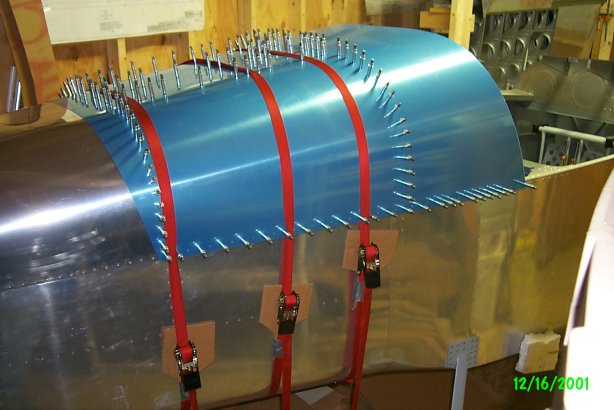
Here I have drilled most holes in the three stringers. Now the skin orientation is set. I climbed inside and back-drilled
the holes through the rear bulkhead and the aft top skin. I did not yet trim the skin at all, so there is almost 3"
of excess on the aft side of the clecoes. The excess is needed in the middle for the edges to reach the bulkhead. Check
that before you start drilling.
Learning from the Aft Top Skin, I marked the locations of all flutings, existing
rivets, and missing flanges on the bulkheads. When you are planning the locations for your rivets, you want to know about
all those things before you start drilling in order to keep your rivet spacing uniform.
|
|
|
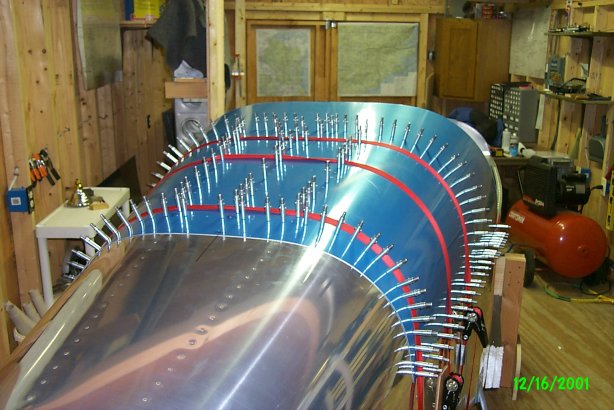
Here the holes are all drilled. I had someone seat the skin while I back drilled the aft bulkhead. They also pushed against
the bottom of the skin with a block of wood to keep that edge tight while it was back drilled.
A previous builder
cautioned me to make sure that the straps didn't deform the foreward bulkhead when they were tightened. His did and it made
fitting the canopy more difficult. I supported my bulkhead with angle iron and checked it visually to insure it was in the
right place. I hope that worked.
A large amount of the overhang shown will be removed during installation of the canopy. I didn't remove any yet, but it won't
be in the way because I won't install this skin until later, after I am done working in the baggage compartment.
|
|
|
|
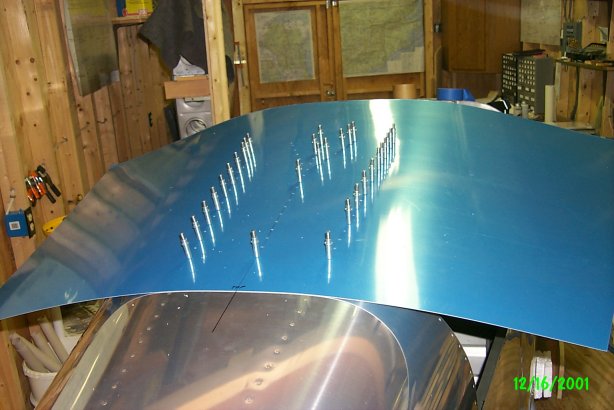
Here is the skin with all holes drilled and clecoed. The skin has not yet been trimmed to size. Note the excess skin behind
the back row of rivets.
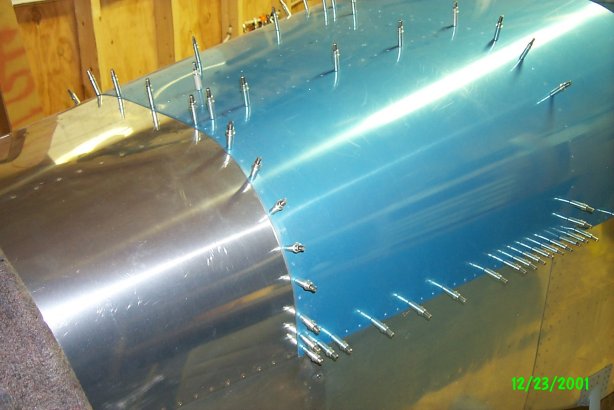
The skin has been trimmed to size to remove the excess skin behind the trailing edge and below the horizontal row of rivets.
I marked the line by running a 1" x 2" x 1/8" plate along the clecoes and marking a line where the plate met
the skin on the side away from the clecoes. I cut the line with snips and filed with a flat file, a half-round file, and
a Scotchbrite pad.
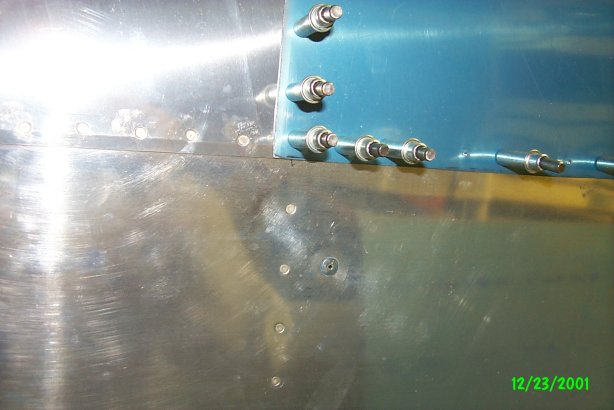
Mark the bottom edge of the skin to be trimmed so that it matches the aft skin already in place. This leaves a nice edge
where the two skins meet.
|
|
|
|
|
|
