|
|
RV-6A Project Website
|
|
Wing Top Skin
|
|
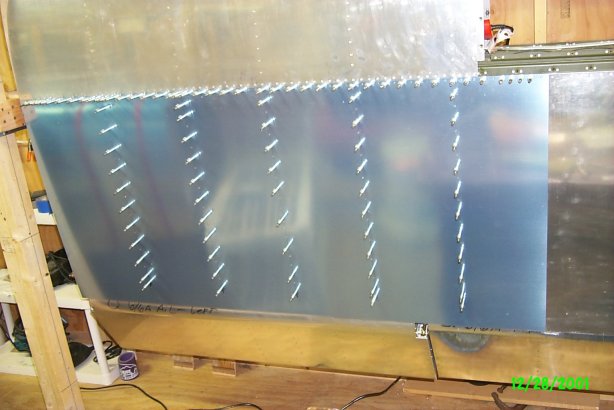
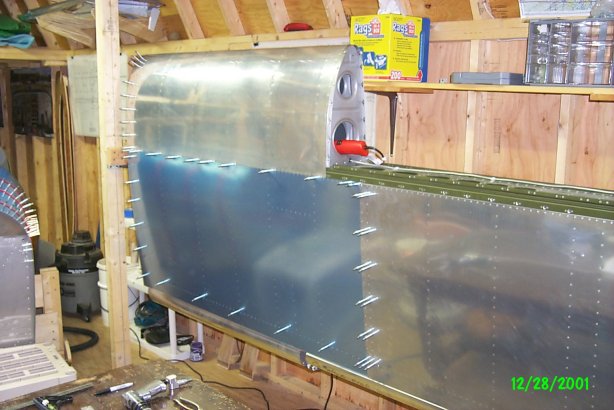
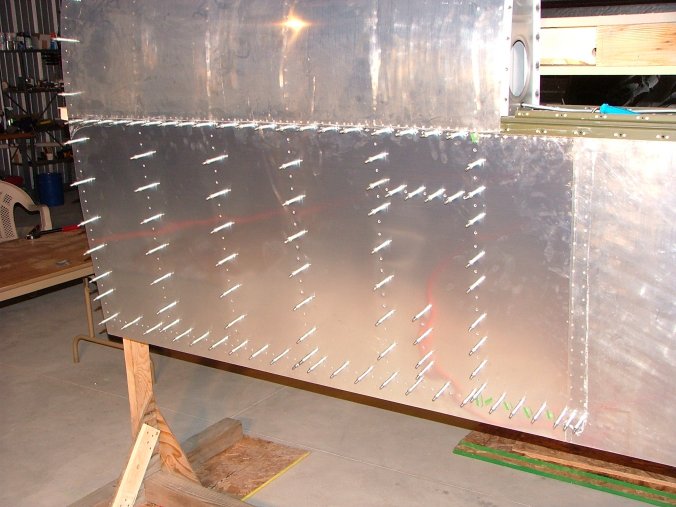
Drilling the Wing top skin took quite a while because there ended up being 314 holes in it. Shown here, most ribs and the
top row have been drilled, but the end ribs and rear spar have not been.
|
|
I started by sliding the outboard under the inboard skin until the outboard edge of the wing aligned with the existing leading
edge. I put duct tape on the outboard skin to hold it in place and drilled one rivet through the skin into the main spar
and added a cleco. I then aligned the skin along the main spar and drilled more holes to hold the skin. I started in the
middle and worked left and right, and down ribs when I came to them.
|
|
|
|
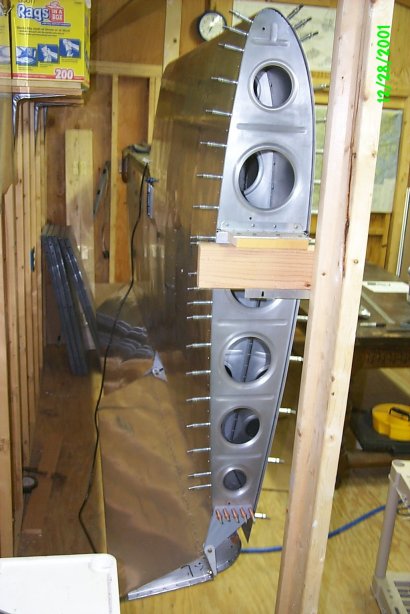
Drilling continued to complete the main spar and ribs. Each rib's location was obtained by extending the rib line from the
leading edge. I marked a line over the outboard skin using a metal yardstick.
|
|
|
I marked the location of the W-625 and W-425(?) blind rib by reaching through the inspection hole with a Sharpie. I drilled
the skin when I had it removed and then drilled the ribs after the skin was back on. I located the hidden rib at the inboard/outboard
junction by measuring from the edge of the inboard skin to the desired rivet location with the outboard skin removed, then
transferred that line to the top side of the inboard skin. The splice line was 1" outboard of that line. The splice
line should be the last thing drilled.
|
|
|
|
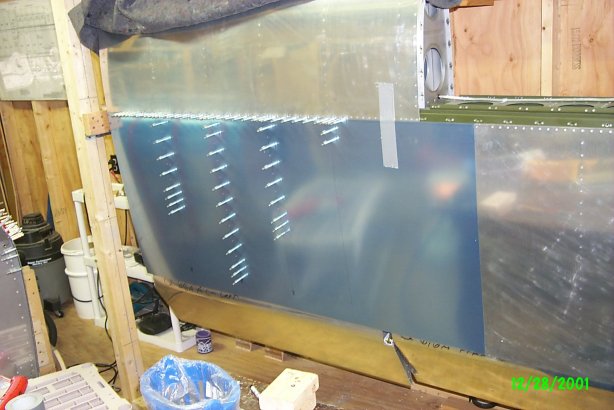
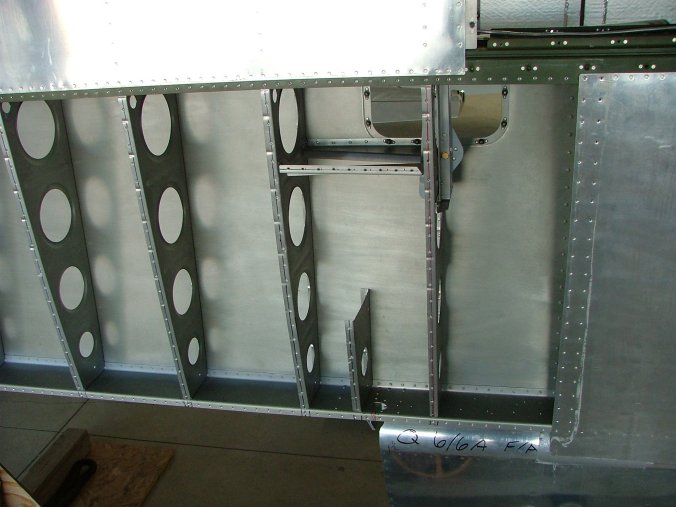
The skin is now totally drilled, and most of the clecoes have been removed.
The nose rib skin is prepunched, as is the bottom of the outboard rib skin. That area is easily drilled.
|
|
|
|
|
|
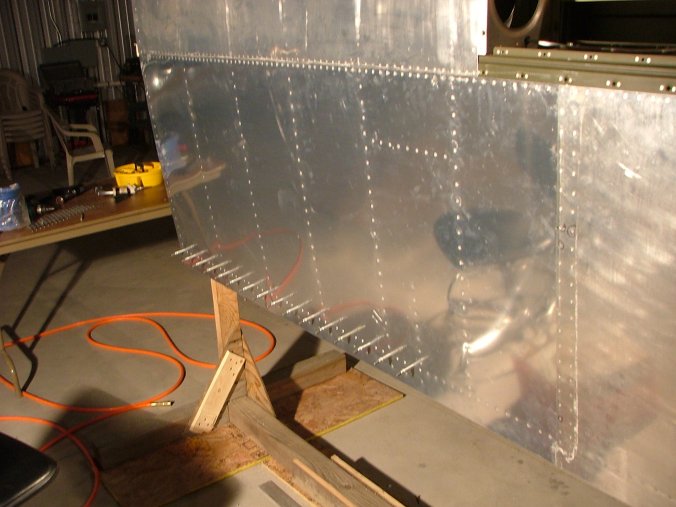
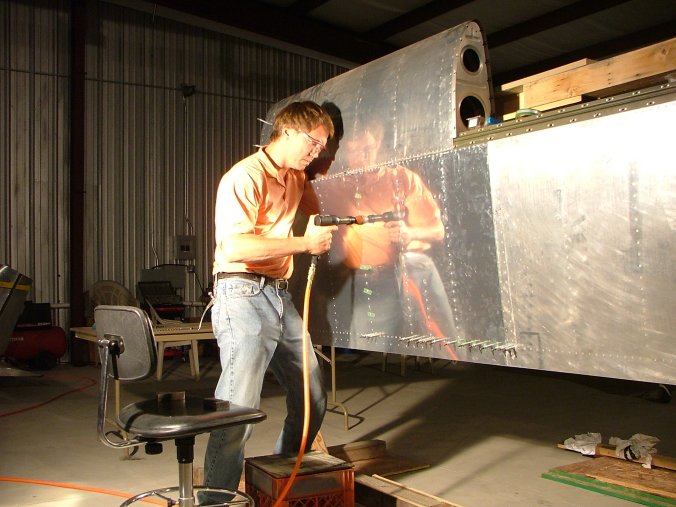
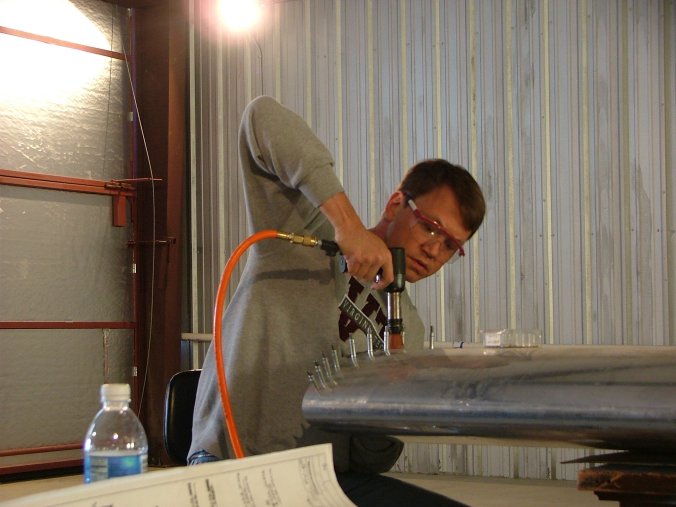
Clean out the debris from inside the wing and get ready to cleco the skin into place.
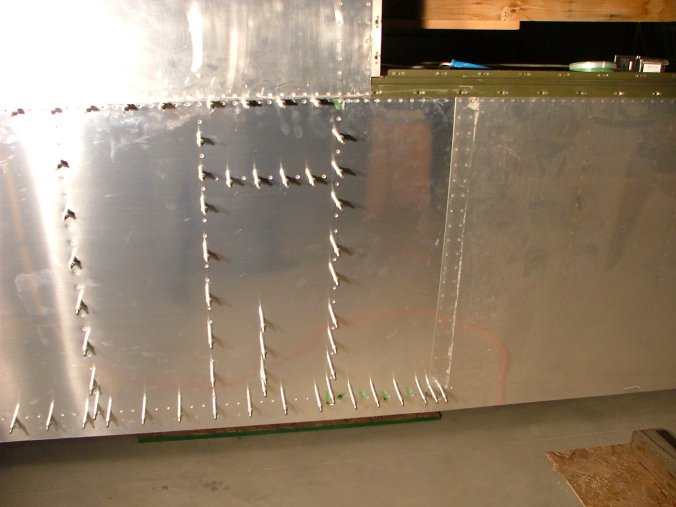
Here the skin was clecoed into place with many clecos, then riveted by holding the bucking bar through the inspection
hole on the bottom of the wing. Some of the rivets require playing twister and a high tolerance for pain, as shown in
the next photo.
As you can see, I secured the whole skin to make sure it properly aligned. I previously back-riveted the aileron
gap seal and I will reach through the back gap to buck the bottom row of rivets.
|
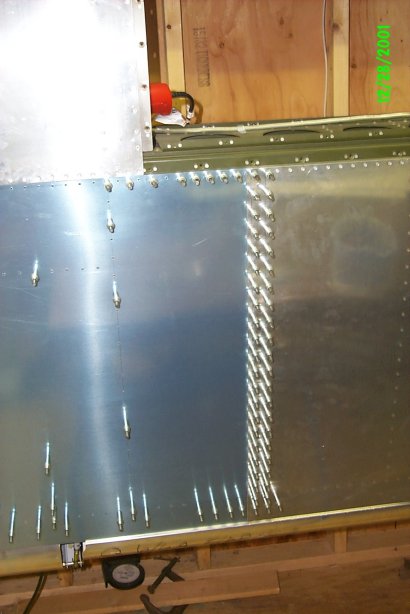
| A little more work to do to finish up... |
|
|
| And the wing top skin is almost done. |
|
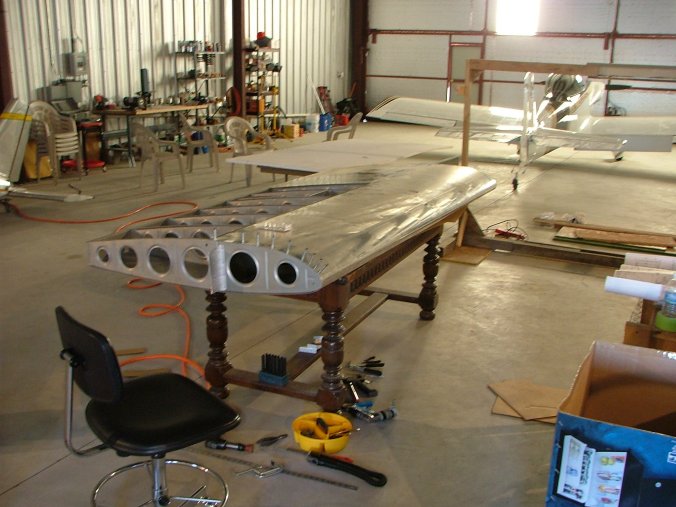
| After storing the left wing, I've started the right wing on a table before I hang it. |
|
| Riveting the outboard rib was somewhat easier in this position. |
|
|
|