Home
Wing Attach
History/Background
Empennage
Flap/Aileron
Fuselage
Finishing 1
Finishing 2
Finishing 3
Flight Controls
Rudder Pedals
External Step
Seat Backs
Pitot Static Line
Aft Top Skin
Skin Time Lapse
Instrument Panel
Wing Top Skin
Electric Aileron Trim
Attaching Tail
Canopy
Landing Gear
Wiring
Destinations
Sale Items

RV-6A Project Website

Pitot Static Line

rv6a.jpg

The pitot static line from the instruments is stiff 1/4" line. A tee as shown connects smaller, more flexible line to the static ports.

rv6a.jpg

The flexible line is run on top of the inside edge of the bulkhead. I drilled holes along the way and used cable ties to secure the line loosely so as not to pinch it off.

rv6a.jpg

I used a 7/16" Unibit to drill a hole approximately level with the bottom edge of the longeron. Insert bushings and run the line through.

rv6a.jpg

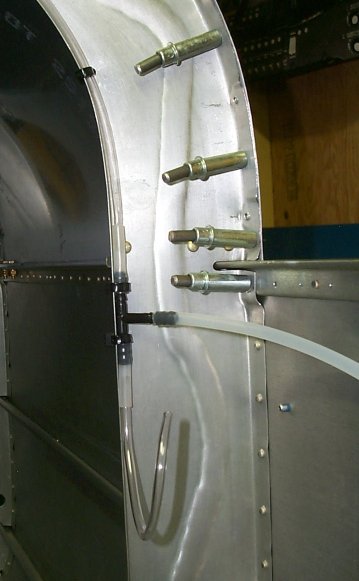
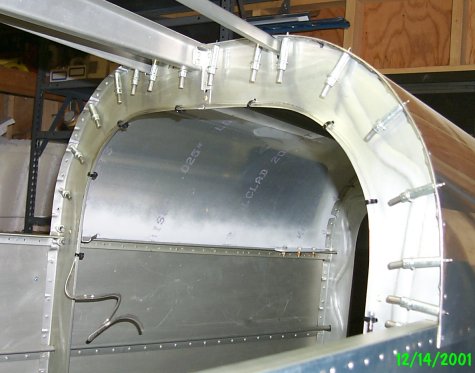
On the bulkhead under the seat back adjustments, drill the hole between the rivets so that it exits inside the canopy deck on the other side. This allows the pitot static line to run hidden under the deck plate.

rv6a.jpg

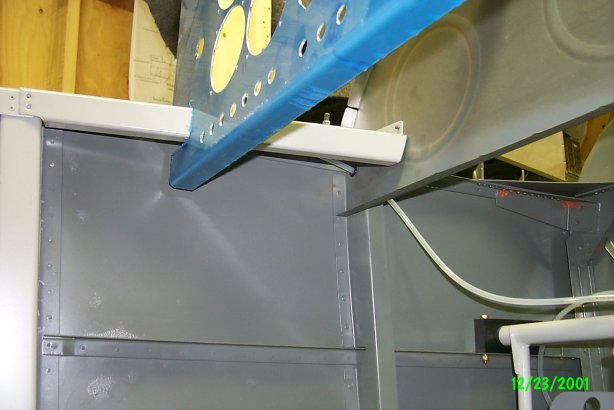
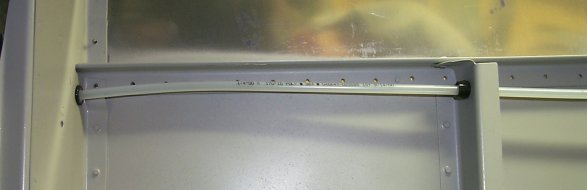
The line stays under the deck plate until it passes through the panel as shown and is now behind the instrument panel.

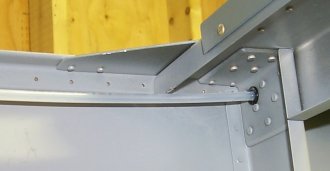
Getting through the bulkhead shown on the left required a 7/16" bit because the hole must pass through both sides of the U-channel.