|
Finally! Something I know how to do. While the aluminum riveting has been a learning process, the wiring
is an area in which I have confidence. And, putting the panel together is fun.
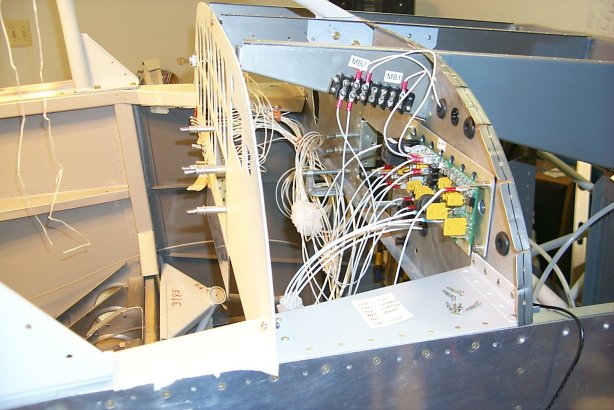
I am using the EXP-2V power board from Control Vision. I am not too far along as yet, but I like the board as it
really does seem to simplify wiring. There are fewer conventional circuit breakers because the board uses self-resetting
polyfuses. Also, I am using the on-board master relay and ammeter shunt. The display unit shows the current charge/drain,
and the board incorporates lots of good ideas like:
* It shuts off power to the avionics if I turn the starter and leave the Avionics switch on,
* It has the ability to turn on power to the radio to receive clearances without turning on the master bus. I used
a switch from Radio Shack with a big ol' red LED in its end to remind me that that circuit is on,
* It ramps up current to the landing lights so maybe they'll last longer.
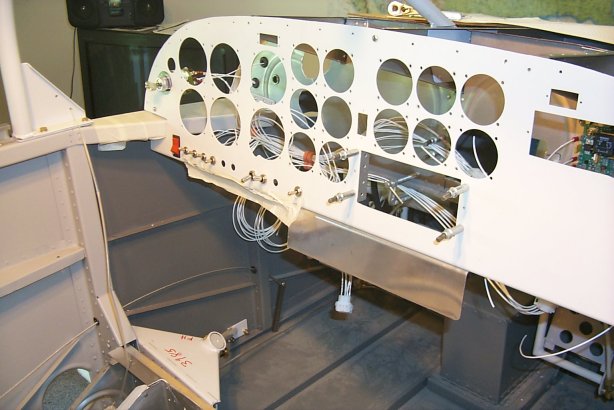
I mounted the EXPBUS board first, and started running wires to the switches. I put Molex connectors in line for
all the wires so that the panel *might* be able to be removed in the future.

I'm wiring from the top, so since the switches are on the bottom, I started there. That way they will be done as
I add the flight instruments and finish toward the top of the panel.
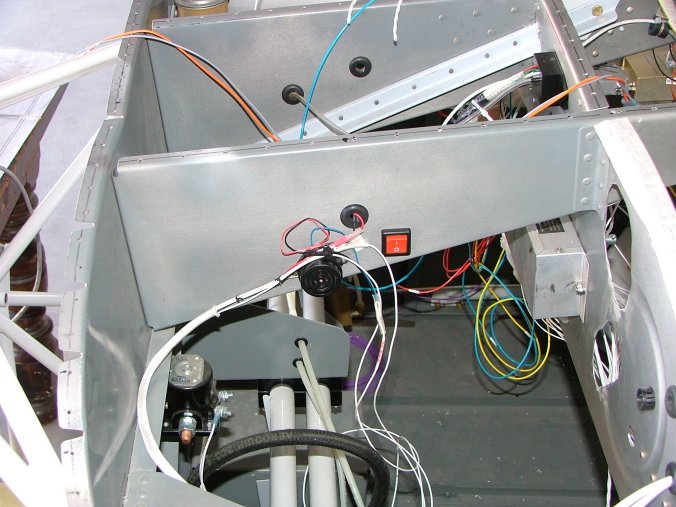
I added a spare cigarette lighter and its circuit breaker, but I put it on the sub-panel because I don't expect to use
it much. It is there if I need it.
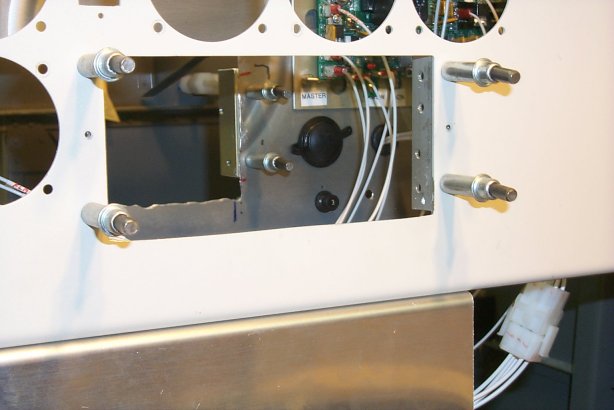
More wires in place...
This chime from Radio Shack will remind me to turn off the Master when the oil pressure is low. I added a SPST
switch so I could turn off the chime when I was working on the panel. I also added a warning red light to the panel
to tell me when the pressure was low. This light is not controlled by the switch.
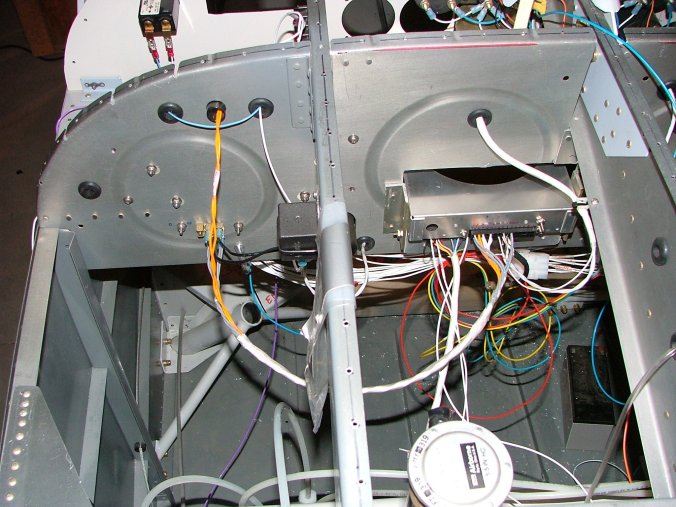
The radio and transponder trays are in and the wiring harness is almost complete. The wiring of these components
is easy compared to the intercom connector.
|
