|
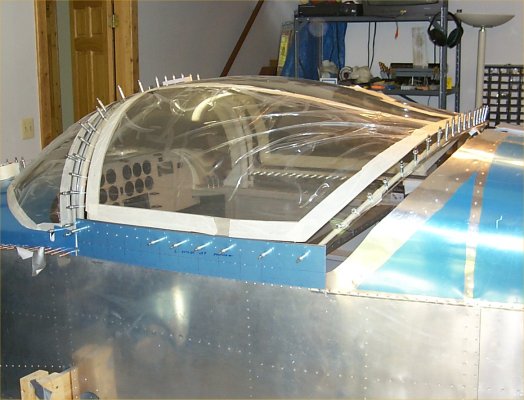
Working with the plexiglass is actually much easier than I expected. I used a kerosene heater to warm the room
to 80 degrees along with an electric heater in the cockpit to warm the plexiglass from the inside to 100 degrees.
Cutting the plexiglass is easy using the cutting disk supplied in the Finish kit by Vans. I used my air drill and
ran the pressure at about 45 psi to turn the disk more slowly. I cheated heavily using all the ideas on Eric Newton's
excellent page also. I first cut off the excess plexiglass by cutting where the sharp bend in the material was evident.
Then just keep trimming, mostly the front, until the plexiglass sits on the latch nub. Mark and drill that, then enlarge
using a unibit.
Next check the fit again and trim as needed, then go on to cut the canopy in half. By this point, you have made
enough cuts to know how to proceed, but it is still nerve-wracking to cut this expensive piece. As everyone says, it
gets much easier when it is two pieces.
I found, after all my careful preparation, two areas where I could have done better. While the pressure on the
tape I had over the nub for the latch showed that the plexiglass was sitting on it prior to drilling it, after I drilled it
the plexiglas still didn't sit down exactly on the bar. It was resting on the nub, yes, but it was also resting on the
bar. I think I should have taken 1/2" more off the front to let it sit down more, which would have shifted the canopy
forward and changed the angle that the inside of the canopy hit the roll bar/canopy front bow.
Secondly, when I checked the fit prior to splitting, I would push on the front windshield and the side at the same time.
On the right side, the right front windshield curve hugged the form of the fuselage. On the left side, it pushed out
a bit. I thought it was close enough. After I split, the windshield is more flexible and now fits the fuselage
perfectly, but with too much material overhanging the roll bar. That is okay, but it means that the canopy has too LITTLE
material to reach to canopy bow. Now mine was really close, so I elongated the hole for the nub, allowing the canopy
plexiglass to slide forward slightly to have enough material to drill the bow. The shape of the plexiglass still matched
the top, middle, front-to-back support.
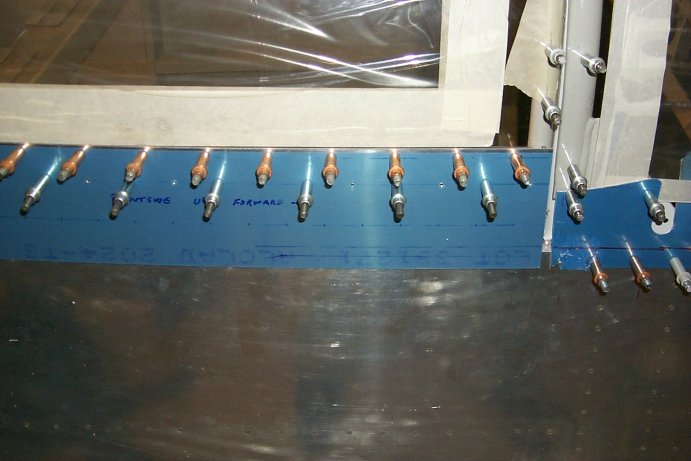
I next drilled the windshield and then the canopy, again using Eric Newton's detailed instructions.
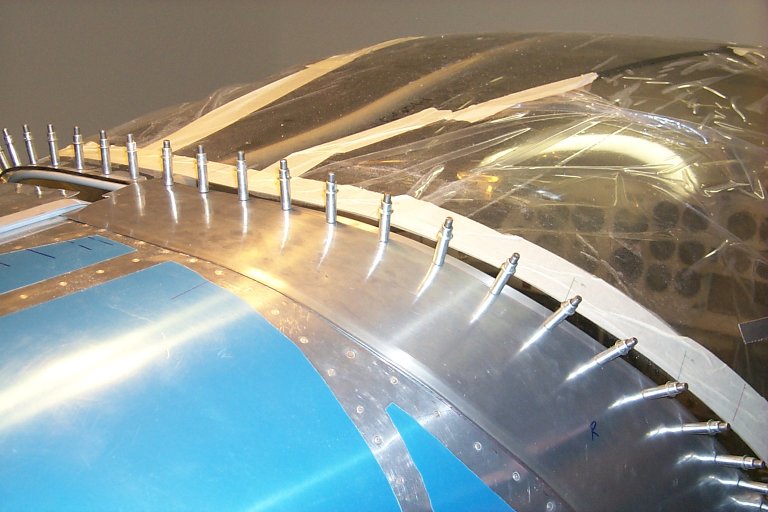
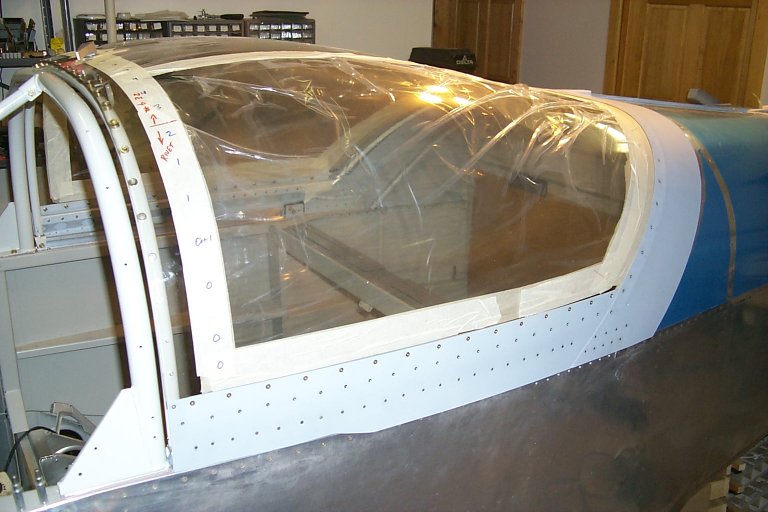
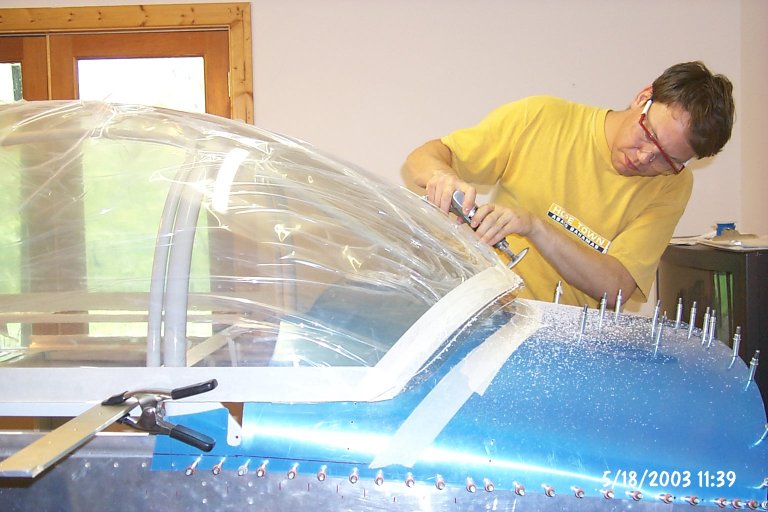
In the following photo, I am just getting started. I am cutting off the front of the plexiglass at the sharp bend.
You can see that I have scored the material with a light-pressure pass to define the cut line. Next I will deepen the
cut with a second and third pass. The last pass will cut all the way through the plexiglass. I'm holding the drill
rigidly so that if the cutting wheel binds, it can't pull the drill and put stress on the plexiglass. Cut in the direction
that the turning wheel wants to pull you or you risk the cutting disk binding as it digs into the cut line.
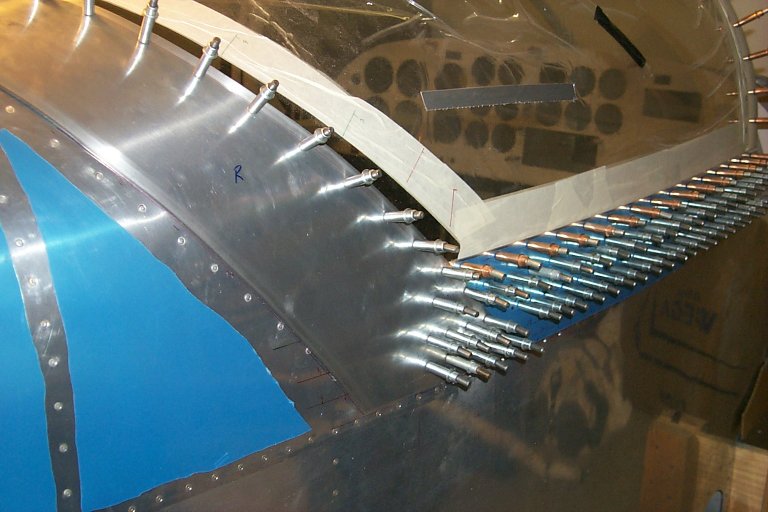
Since I did this without assistance, you can see hold I supported the canopy for cutting. I slipped a piece of
metal under the canopy and kept the soft canopy from spreading by using the clamp that you see. This lifted the front
enough that I didn't cut the fuelage skin underneath.
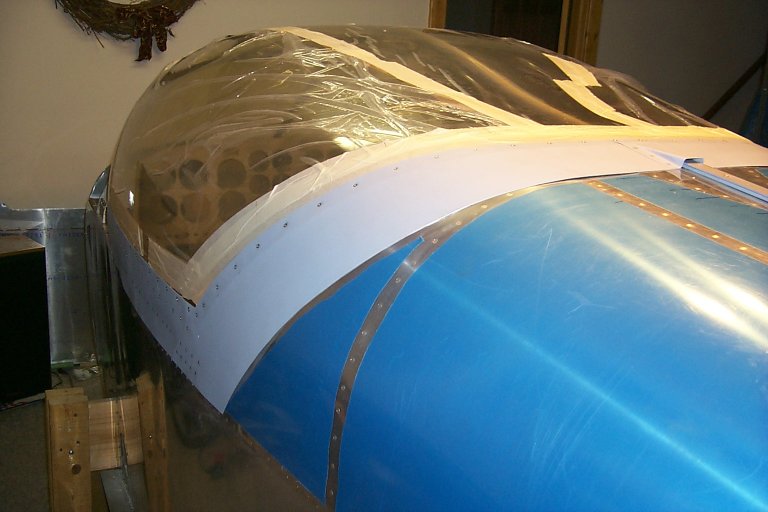
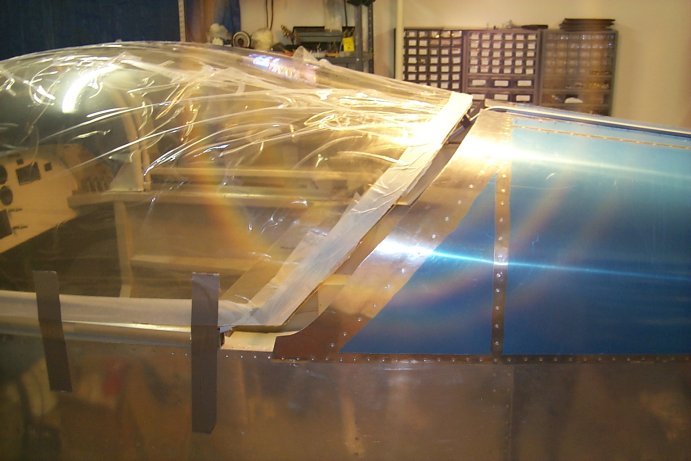
In the following picture you can see that I trimmed the rear of the canopy as little as possible so that it fit within
the turtledeck skin. After final drilling to the rear bow, I made one more cut to leave only 1/2" overhang and a nice
smooth edge.
|