 |
|
RV-6A Project Website
|
|
External Step
|
|
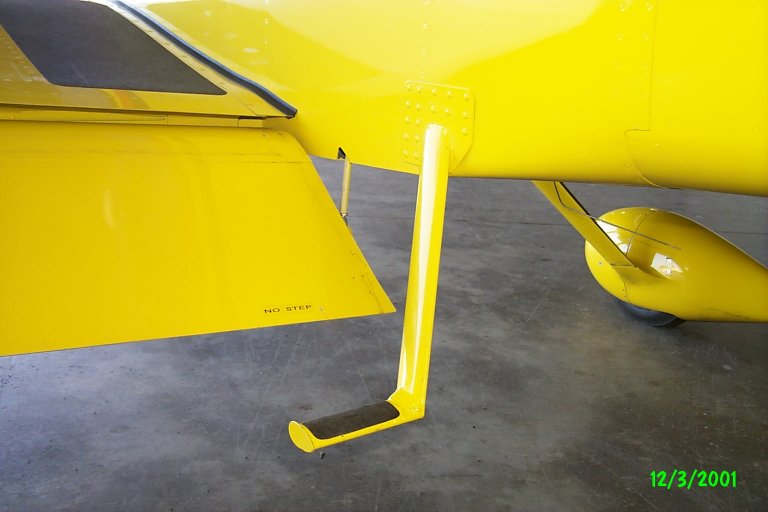
After much deliberation, I decided to add the two steps that I bought with the plane. They seem popular on the tri-gear plane
and don't seem to decrease cruise speed, so they are going on.
|
|
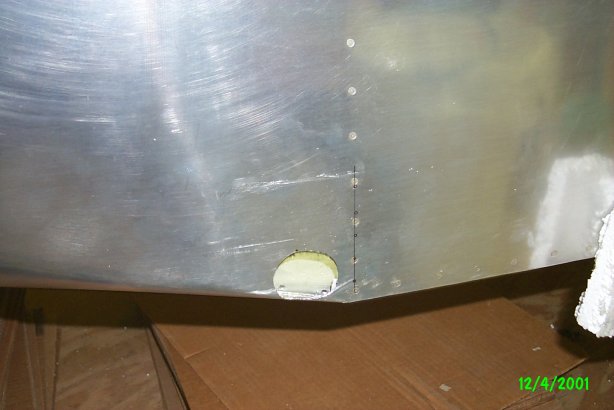
I checked everything ten times before I drilled this big hole in my fuselage. I started with a small hole, and opened it
up with a rotary rasp until the designated column of rivet holes aligned with the flange of the fuselage bulkhead.
|
|
|
|
The flat plate that is part of the step will hide the hole if the hole needs to be elongated to allow the step to align properly.
It is a series of test fits to get it just right. A hole is opened in the internal rib through which the internal tube of
the step passes.
|
|
|
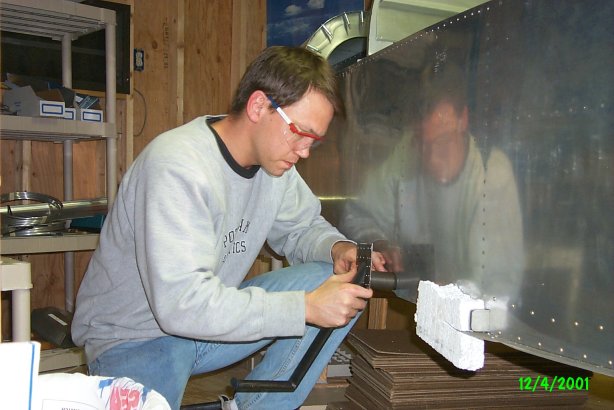
I outlined the area with duct tape, scratched the fuselage with a scotchbrite pad and primed the area that will be under the
plate on the step.
|
|
|
|
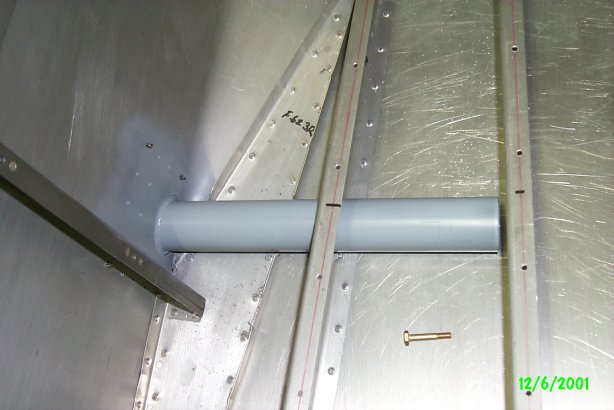
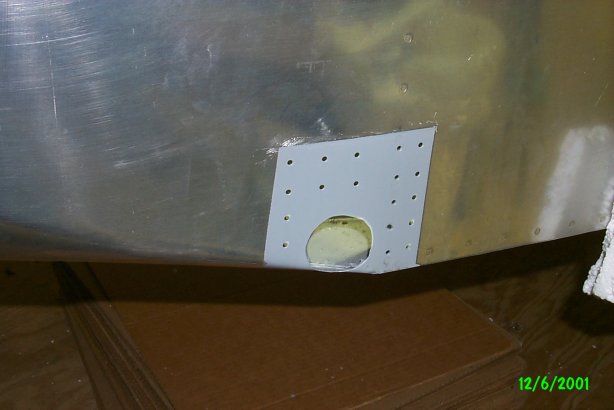
The tube on the step that extends inside the fuselage mounts to the second internal rib. The flanges on the F-623 plate are
shaved down for clearance and a hole is cut in the first rib. A plastic support will capture the end of the tube and attach
it to the second rib.
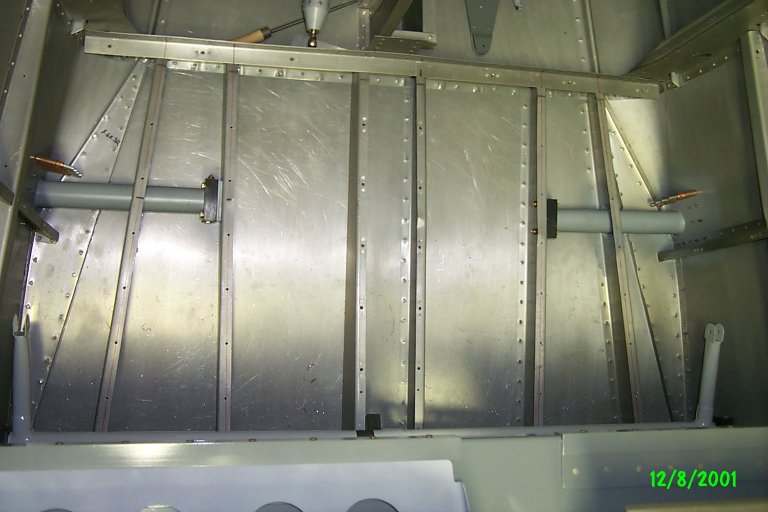
When both steps are installed, the inside looks like this. The end of each tube is captured inside a plastic block that is
bolted to the second internal rib. An additional bolt is run horizontally through the plastic and through the tube to lock
the step in place. Be sure to install all clecos to hold the step in place before drilling the plastic block to the rib.
Check the look on the external plate and when it looks right, then drill the block in place.
|
|
|
|
|
|
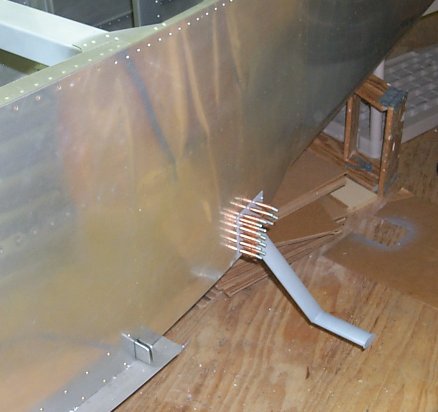
Here is the primed step on the pilot's side ready for riveting.
I spent about 6 hours on the passenger's side, and once
I knew what I was doing, about 2.5 hours on the pilot's side.
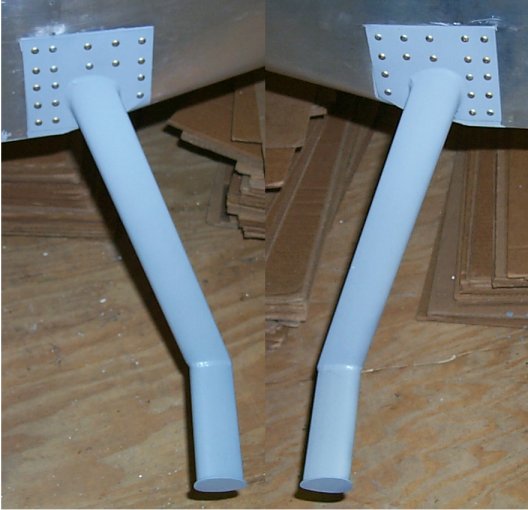
Here are the finished steps. My brother helped finish them by bucking.
|
|
|
